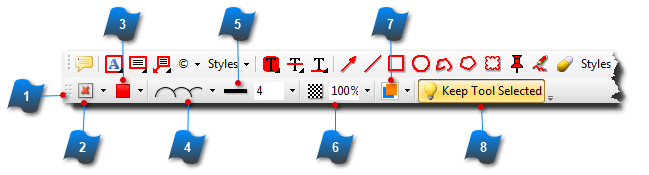
Style and Formatting Toolbar
The Styles dropdowns set the style for all objects in their group. When you select an object to input, a style and formatting toolbar is then displayed.
Options will be different depending on what tool you have selected. You may set the properties first then input the object or select an object that's already been input and then change the style properties.
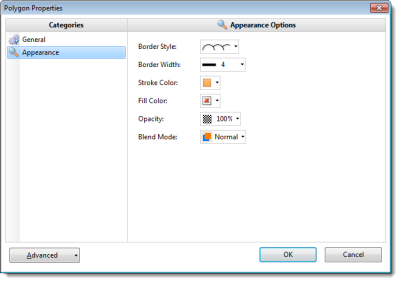
Using the Select Tool on an existing object then right-clicking will bring up a Properties Dialog box where you can edit the same properties as the Styling Toolbar.
 Style and Formatting Toolbar
The style options will vary depending on the annotation being input. This example shows the formatting for the Cloud tool.
|
|
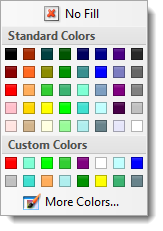
 Fill Color
Select the color for the inside of the shape.
|
|
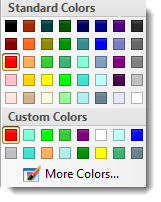
 Stroke Color
Select the color for the outline or border of the shape.
|
|
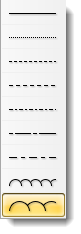
 Border Style
Select the line style for the Border or outline of the shape.
|
|
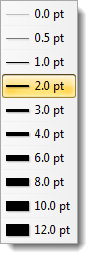
 Border Width
Select or input (points) the width or the thickness of the Border or outline.
|
|
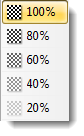
 Opacity
Select or input the percentage of Opacity or transparency for the shape.
|
|
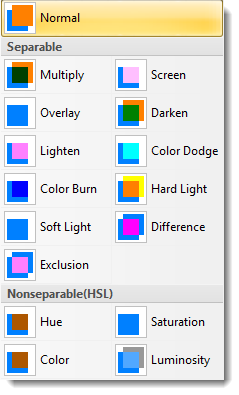
 Blending Mode
The Blending Mode defines how the selected colors of the object to be input react with the existing colors of the page.
|
|
 Keep Tool Selected
With this button highlighted the selected tool will remain active for multiple inputs. Use this feature for quickly inputting several objects.
If this button is not selected, the tool will have to be selected from the toolbar again to be formatted and input.
|
|