Using Profiles to Control Settings
Profiles allow you to easily manage the various settings in the PDF-XChange for AcroPlot Pro printer driver. In AutoCAD if you want to setup different PC3 files for different settings you must do it by defining a profile and then setting the profile as the Active one when you are creating the PC3 file. This is because our driver has more settings than which the Windows Printer Configuration settings allow.
Step 1 - Closing AutoCAD
Close AutoCAD to make sure the it fully picks up on the printer driver settings we are going to create.
Step 2 - Opening the Printer Driver Printing Preferences Dialog
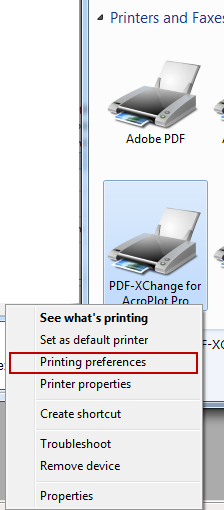
Let's start by going to the Windows > Start Menu > Printers and Faxes and then right clicking on the PDF-XChange for AcroPlot Pro Printer driver and selecting the Printing Preferences.
Step 3 - Setting the Printer Driver Settings
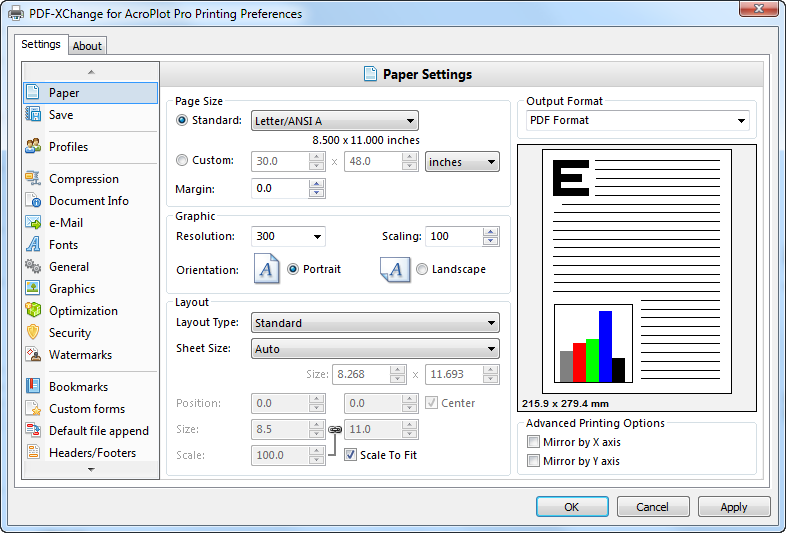
When the Printing Preferences dialog comes up you can set the various settings that you want. We will discuss the Save options in the next section off the help titled Using Profiles Save Settings to Control Where Your PDF is Saved.
Step 4. - Creating the Profile Name
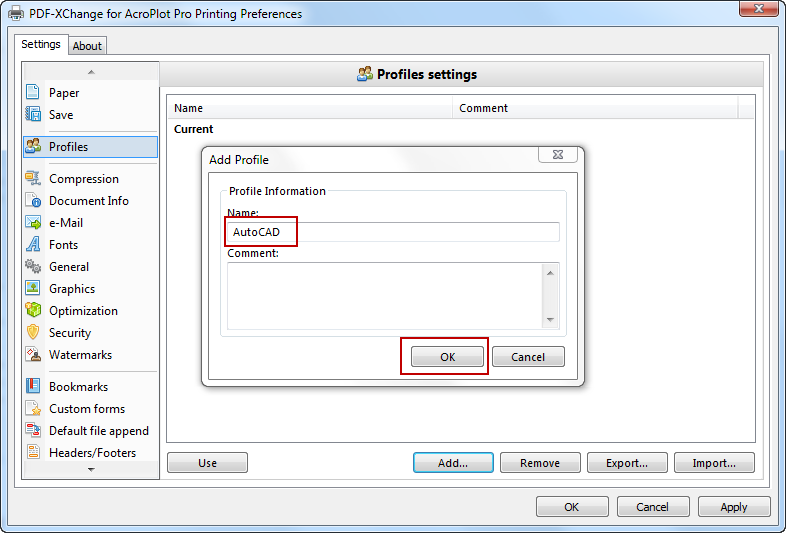
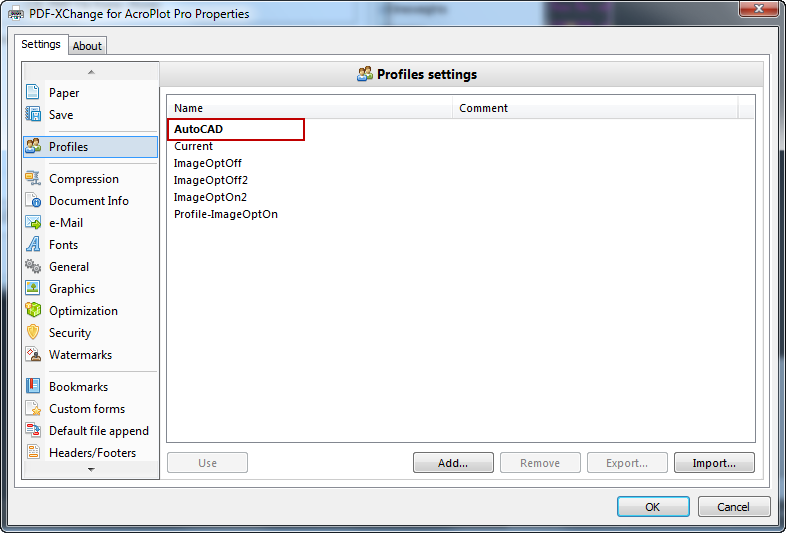
Now we want to go to the Profiles Tab so we can save these settings as a new Profile or update an existing Profile if you already have one. In this case we do not have one yet so we are going to hit the Add button to create a new one.
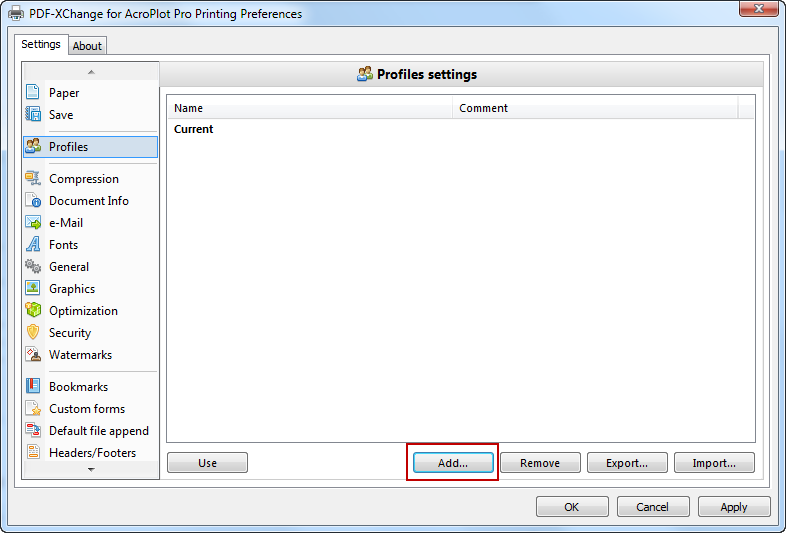
Now we will name the new one AutoCAD and select the OK button.
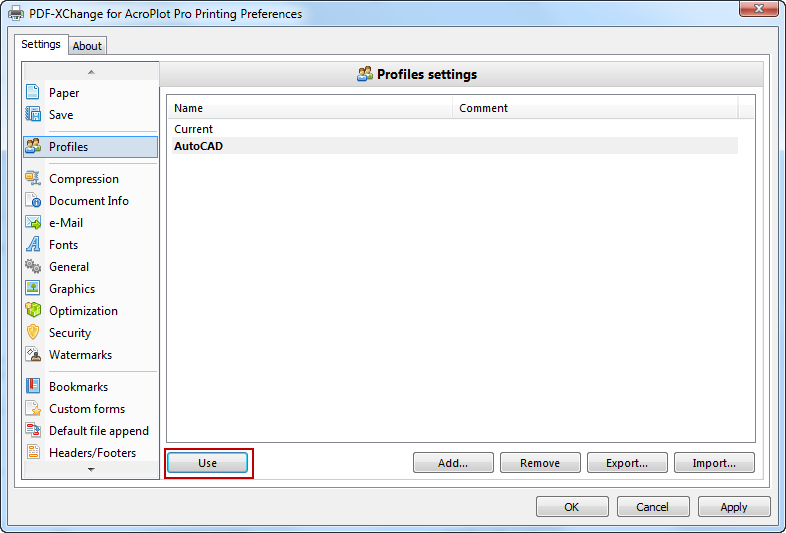
You can now see that we have a new Profile named AutoCAD and if it is not bold then lets select the Use button to make it the current one.
IMPORTANT NOTE:
When a Profile is made current any changes you make to that Profile are NOT SAVED until you go back to the Profiles Tab and use the Add button to Add the current settings under an existing profile name.
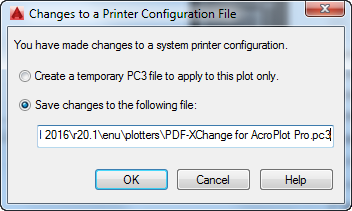
Step 5 - Saving the Profile Settings
Now that you have your settings the way you want them you can hit the OK button to close out the PDF-XChange for AcroPlot Pro Printer Preferences Dialog.
Step 6 - Creating the Pc3 file in AutoCAD
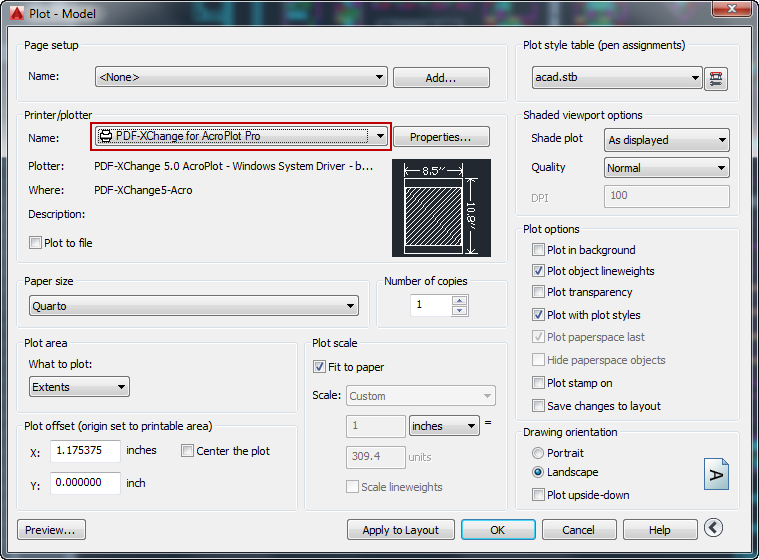
Start up you AutoCAD and select a drawing to print from and issue the Print Command. Then select the PDF-XChange for AcroPlot Pro printer in the list.
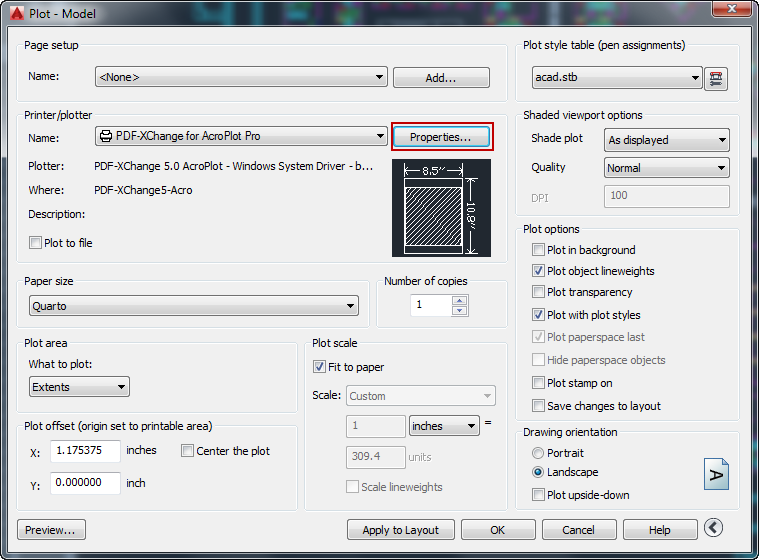
Next select the Properties Button.
Then select the Device and Documents Settings Tab and then the Custom Properties in the list and finally select the Custom Properties Button.
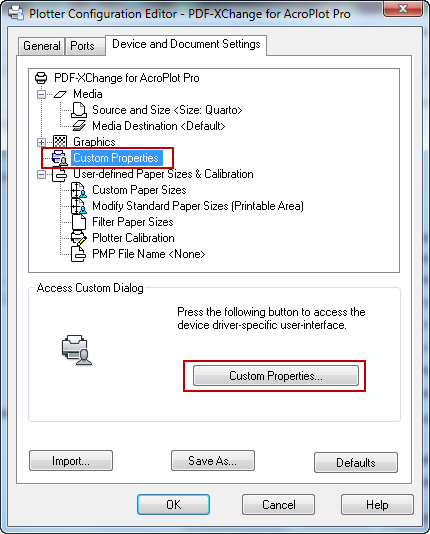
This will bring up the PDF-XChange for AcroPlot Pro Printing Preferences Dialog again. Here we want to go to the Printing Preferences Tab and make sure that your named Profile is the current one (bold) and if not then you should select it in the list and select the Use button to make it the current one. This is the profile that the Pc3 file will use regardless of the current setting in the printer driver. Hit the OK button to return back to the AutoCAD Plotter Configuration Dialog.
Now you should modify the Standard Paper Sizes so that all of the sizes you have will have 0.0" margins to eliminate a long standing AutoCAD bug. You can read more about why you want to do this at The Importance Of Using Pc3 Files In AutoCAD

Once you hit OK AutoCAD should prompt you to save the Pc3 file or you can select the Save As from the AutoCAD